News Catalyst
The China A50 has a domestic data catalyst on the tape today. The economic calendar carries the full Chinese trade release — Exports YoY forecast at 25.0% against a prior 23.9%, Imports YoY at 30.0% against 27.5%, and a Balance of Trade forecast of $119.1bn versus $112.5bn — a trio that speaks directly to the earnings base of the index constituents rather than to global risk sentiment in general. A beat on exports typically produces an impulsive opening leg in CHINA50 followed by a controlled retracement as intraday positioning is rebalanced, which is exactly the sequence this strategy is built to trade: it does not want the initial spike, it wants the pullback into value that follows it. Layered on top is a genuinely volatile external backdrop — Reuters reports the UAE insisting its energy exports will not be “held hostage” by the Iran conflict, alongside UK–US discussions on a Ukraine–Russia ceasefire, and a US rates week in which CPI and PPI prints run into the Fed’s 16 September decision. Those externals cut both ways: they add the trend energy the ADX filter needs to register, but a headline landing mid-retracement is the single most reliable way to turn a clean Fibonacci pullback into a full trend reversal. Trade the Chinese data as the primary driver and treat the geopolitical tape as a reason to size down, not up.
Trade Summary
This is a trend-pullback system for CHINA50 on the 30-minute chart. It combines three rules that each answer a different question: EMAs establish which way the intermediate trend is pointing, ADX establishes whether that trend has enough strength to be worth trading, and Price Retrace supplies the timing by measuring how far price has pulled back into the Fibonacci band of the prior impulse leg. The premise is that a trend does not reward you for chasing it — it rewards you for buying the discount it periodically offers, and the 38.2–61.8% retracement zone is where that discount has historically been priced. Entries are confirmed by a Candle Pattern at the retracement level, and both stop distance and position size come from ATR so the risk tracks the index’s current range rather than a fixed point value.
The system is directionally neutral — it takes long pullbacks in an uptrend and short pullbacks in a downtrend with mirrored logic — but it is far from condition-neutral. It is built for a market that trends in bursts and then breathes: strong directional impulse, orderly retracement, continuation. That is a common signature for CHINA50 around scheduled domestic data, where a release sets the day’s direction and the following hours retrace part of it. It performs badly in two regimes: a flat, rotational tape where no impulse leg exists to retrace against, and a one-way vertical move that never offers a pullback deep enough to trigger. The ADX filter is what keeps you out of the first; nothing keeps you in the second, and that is an acceptable cost.
The Anatomy of the Trade
The Logic: What Inefficiency Are We Exploiting?
An impulse leg in an index is rarely one homogeneous flow. It is a directional participant pushing price, followed by short-term traders taking profit into that push. When the profit-taking dominates, price retraces — but the original directional participant has not left, and the retracement gives it a better average price to add at. The Fibonacci band is not magic mathematics; it is a widely watched coordinate system, and because a very large number of desks place resting orders at the same 38.2%, 50% and 61.8% levels, those levels become genuine liquidity shelves. The inefficiency this strategy trades is the predictable clustering of continuation orders inside that band, and the confluence between three independent conditions — direction, strength and location — is what separates a real shelf from a level price is simply passing through on its way to a reversal.
Each rule earns its place by rejecting a specific failure mode. The EMA pair rejects pullbacks that are actually the early stage of a trend change, because in a genuine reversal the fast EMA has already crossed below the slow one before price reaches the 61.8% level. ADX above 25 rejects retracements measured against an impulse that was never strong enough to matter — in a choppy tape, Price Retrace will happily map a Fibonacci grid onto random noise, and the ADX threshold is the only thing that tells you the grid is meaningless. The candlestick confirmation adds the final piece, which is timing: it demands evidence that buyers or sellers have actually re-engaged at the level, rather than assuming they will. A bullish pin bar at the 50% retracement is a rejection you can see; price merely touching 50% is a coincidence you cannot.
Setup Requirements
- Primary rule: Price Retrace measuring the Fibonacci retracement of the most recent swing leg, with the 38.2%–61.8% band as the active entry zone and the 50% level as the preferred trigger.
- Trend filter: EMA(21) relative to EMA(55) — longs require EMA(21) above EMA(55), shorts require the reverse, evaluated on the entry bar.
- Strength filter: ADX(14) above 25, with +DI above −DI for longs and −DI above +DI for shorts.
- Confirmation: Candle Pattern — a bullish pin bar for longs, a bearish engulfing candle for shorts, closing inside the retracement band.
- Risk management: ATR(14) sets the stop distance at 1.5 × ATR and drives position size.
- Primary symbol: CHINA50 — the A50 gives concentrated onshore China exposure, is highly sensitive to domestic policy and trade data, and produces the impulse-then-retrace structure this system needs around scheduled releases.
- Timeframe: 30-minute charts — long enough that ADX readings are stable rather than whipsawing on every bar, short enough that a retracement completes and resolves inside a single session.
- Adaptability: The structure transfers to HK50, GER40 and the major FX pairs. Re-derive the ADX threshold per instrument — 25 is a reasonable default for an index, but faster instruments often need 20 to produce a usable trade count.
Entry Rules
All four conditions must align on the same bar. A retracement into the band without trend agreement, or with ADX below threshold, is not a trade regardless of how clean the level looks.
- Long entry: EMA(21) is above EMA(55) and ADX(14) is above 25 with +DI above −DI and price has retraced into the 38.2%–61.8% Price Retrace band of the last up-leg and a bullish pin bar closes inside that band.
- Short entry: EMA(21) is below EMA(55) and ADX(14) is above 25 with −DI above +DI and price has retraced into the 38.2%–61.8% band of the last down-leg and a bearish engulfing candle closes inside that band.
Enter at the close of the confirmation candle. Do not place a resting limit order at the 50% level — the whole point of requiring the candlestick is to distinguish a level that is being defended from one that is simply being crossed, and a limit order takes the trade in both cases.
Exit Rules
- Stop loss: 1.5 × ATR(14) from entry, placed at the moment of entry and additionally capped beyond the 78.6% retracement — a pullback that deep has invalidated the impulse leg the trade was measured against.
- Take profit: 3.0 × ATR(14), a 2:1 reward-to-risk ratio, with the prior swing extreme as the secondary reference target.
- Signal exit: Close the position if ADX(14) drops below 20 while the trade is open. The trend that justified the entry has stopped being a trend, and continuation is no longer the base case.
- Structure exit: Close if the EMA pair crosses against the position, even if neither the stop nor the target has been reached.
The stop loss is non-negotiable and is never widened once placed. The characteristic loss in this system is a retracement that keeps going — what looked like a 50% pullback resolving into a full trend reversal — and in that scenario price travels the entire prior impulse leg. A stop set automatically at entry is the only thing standing between an ordinary losing trade and a loss several times the size it was supposed to be.
Risk Management
- Risk per trade: 1–2% of account equity, fixed. Do not increase risk after a run of winners — pullback systems cluster their wins, and the temptation to scale peaks immediately before the regime changes.
- Risk-to-reward: Minimum 2:1. At that payoff the system needs a win rate above roughly 34% to break even before costs, which is well inside the historical range for trend-pullback entries with a strength filter.
- Position sizing: Size = (Equity × Risk%) ÷ (1.5 × ATR in index points × point value). On a $30,000 account risking 1% ($300) with ATR(14) at 40 points on CHINA50, the stop is 60 points, so position size is $300 ÷ (60 × $1 per point) = 5 contracts.
- Maximum concurrent positions: One CHINA50 position at a time, and no simultaneous HK50 or AUD exposure — all three respond to the same Chinese data, so three positions is really one position at triple size.
SYMBOL:       CHINA50
TIMEFRAME:    30m

LONG ENTRY:   EMA(21) > EMA(55)
               AND ADX(14) > 25 AND +DI > -DI
               AND PRICE RETRACE in 38.2% - 61.8% of last up-leg
               AND Bullish Pin Bar closes inside the band
               // Enter at close of the confirmation candle

SHORT ENTRY:  EMA(21) < EMA(55)
               AND ADX(14) > 25 AND -DI > +DI
               AND PRICE RETRACE in 38.2% - 61.8% of last down-leg
               AND Bearish Engulfing closes inside the band
               // Enter at close of the confirmation candle

STOP LOSS:    1.5 × ATR(14) from entry
               // Hard cap beyond the 78.6% retracement

TAKE PROFIT:  3.0 × ATR(14) — 2:1 reward-to-risk

SIGNAL EXIT:  ADX(14) < 20
               // Or EMA pair crosses against the position

RISK:         1–2% of equity per trade
               // One CHINA50 position at a time
Paste this block into a Strategy Note in the Arconomy Strategy Builder so the intent behind every threshold stays attached to the strategy as you iterate on it.
Common Pitfalls
Fibonacci pullback systems fail in predictable ways, and nearly all of those failures come from treating the retracement level as the signal instead of treating it as the location where a signal is permitted to occur.
Mapping a Fibonacci grid onto a range
In a sideways tape, Price Retrace will still produce a perfectly drawn 38.2/50/61.8 grid — it just has no meaning, because the leg it was measured from was noise rather than an impulse. Price will oscillate through all three levels repeatedly and every touch will look like a setup. The ADX(14) > 25 condition is not optional garnish; it is the rule that decides whether the Fibonacci grid is describing a trend or decorating a range. If ADX has spent the session under 20, there is no trade on this instrument today.
Ignoring the Chinese data calendar
CHINA50 is unusually exposed to scheduled domestic releases — today’s trade balance, exports and imports prints, and more broadly PMI, GDP and PBoC policy announcements. A retracement that is developing cleanly into the 50% level can be erased in a single 30-minute candle by a release, and index spreads widen at exactly that moment. Stand aside for 30 minutes either side of any high-impact Chinese release, and do not hold an open position into one on the assumption the trend will simply continue. The current geopolitical tape — the Iran conflict, Ukraine ceasefire headlines and a US CPI/PPI week ahead of the 16 September Fed decision — adds unscheduled versions of the same risk.
Relaxing the band to catch shallow pullbacks
In a strong trend, many retracements stop at 23.6% and never reach the entry band, and watching those legs continue without you is the most reliable way to talk yourself into loosening the rule. Widen the band to include 23.6% and the trade count rises, but so does the proportion of entries taken before the pullback has finished — and those get stopped out on the way to the level you were originally waiting for. Missing trades is a design feature of a pullback system, not a defect to be engineered away. If the signal count is too low, add a correlated index at identical settings rather than loosening the band on this one.
Over-optimising the ADX threshold and EMA pair
Between the two EMA periods, the ADX threshold, the retracement band boundaries and the ATR multiple, there are enough free parameters to fit almost any historical equity curve on CHINA50. A backtest tuned to EMA 19/57 with ADX > 23.5 and a 1.42 × ATR stop is describing one particular past. Test the ADX threshold at 20, 22, 25 and 30 and keep the setting that performs acceptably across all four rather than the single best number. If the results collapse when the threshold moves by two points, the edge was in the curve fit rather than in the market.
Revenge trading a failed-retracement cluster
Failed pullbacks cluster because the regime that produces one — a trend quietly rolling over into a range — produces several before ADX has fallen far enough to switch the system off. Three or four consecutive losses is an ordinary statistical event here, and doubling size to recover converts a routine drawdown into a structural one. Set a hard daily loss limit of 3% and a mandatory review at 10% drawdown, and stop trading when either is hit. Review the trade log after the streak has ended, never in the middle of it.
Build Strategy using Arconomy
The CHINA50 Fibonacci EMA Retrace strategy is assembled in the Arconomy Strategy Designer by letting Price Retrace define the entry zone, gating it with an EMA trend filter and an ADX strength filter, confirming with a candlestick pattern, and driving both stop distance and size from ATR. No code is required.
| Step | Rule(s) Required | Description | Key Configuration |
|---|---|---|---|
| Data | Price Data | Feed 30-minute CHINA50 candles into the strategy as the base data source for every downstream rule. |
|
| Entry | Price Retrace | The primary rule. Measures the Fibonacci retracement of the most recent swing leg and fires when price trades back into the 38.2%–61.8% band. |
|
| Trend Filter | Moving Average | Establishes which direction the retracement is allowed to be traded in, rejecting pullbacks that are the first stage of a reversal. |
|
| Strength Filter | ADX | Confirms the impulse leg was a real trend rather than range noise before any Fibonacci level is treated as tradeable. |
|
| Confirmation | Candle Pattern | Requires visible rejection at the level so the trade is taken on evidence of re-engagement rather than on price merely touching a number. |
|
| Logic | Logic | Combines trend, strength, location and confirmation into a single AND gate so no partial setup can trigger an order. |
|
| Risk | ATR & Place Trade | Sizes the position from current volatility rather than a fixed point stop and submits the order at the confirmation bar close. |
|
| Exit | Stop Loss & Take Profit | Places the protective stop and the target at entry, with the ADX collapse acting as the discretion-free signal exit. |
|
| Backtest | Validate the completed strategy across trending and ranging regimes before committing capital. |
|
Backtest Considerations
Test this strategy over a minimum of 24 months of 30-minute CHINA50 data, and make sure the window contains at least one sustained uptrend, one sustained downtrend and one multi-week range. A pullback system tested only across a trending period will look outstanding and tell you nothing, because the ADX filter’s entire job is to keep you out of the periods that are missing from that sample. Segment the results by regime rather than reading a single blended equity curve — you want to know specifically how much the range periods cost you, since that is what determines whether the ADX threshold is set correctly.
Watch three metrics in the Arconomy backtest report. Profit factor should sit above 1.3 — below that, the edge will not survive live costs. Maximum drawdown should be compared against your daily and total loss limits, not admired in isolation; if peak drawdown exceeds 15% of equity at 1% risk per trade, the position sizing is too aggressive for the system’s loss clustering. Finally, inspect the trade distribution: if more than a third of total profit comes from fewer than five trades, the result is a handful of outsized trend runs rather than a repeatable pullback edge, and it will not replicate.
Model costs honestly for an index CFD. CHINA50 spreads widen materially outside Asian cash hours and around the Chinese data releases this strategy is designed to trade around, so a flat spread assumption will overstate results. Add at least one to two points of slippage per side on the confirmation-bar entry — you are entering at market on a close, which is exactly when the book is thinnest — and include overnight financing if any trade is held across the rollover. Also account for the index’s gap behaviour: CHINA50 can open meaningfully away from the prior close, and a stop that was 1.5 × ATR on paper can be filled substantially worse in practice.
Key Takeaways
- The edge is in buying the discount a trend offers during a retracement, not in chasing the impulse leg that created it.
- Confluence is what makes the setup tradeable — EMAs supply direction, ADX supplies strength, Price Retrace supplies location, and the candlestick supplies timing.
- ATR-based stops and 1–2% position risk keep a single failed retracement from doing structural damage, because the characteristic loss is a pullback that becomes a reversal.
- Stand aside when ADX(14) is below 20, and around scheduled Chinese trade, PMI and PBoC releases — the Fibonacci grid is meaningless in a range and irrelevant into a data print.
- Backtest across at least 24 months covering trending and ranging regimes, with realistic index spread and slippage, before risking capital.
Credits
The strategy idea originated from the following YouTube channel. Concepts have been adapted and structured for systematic implementation by Arconomy.
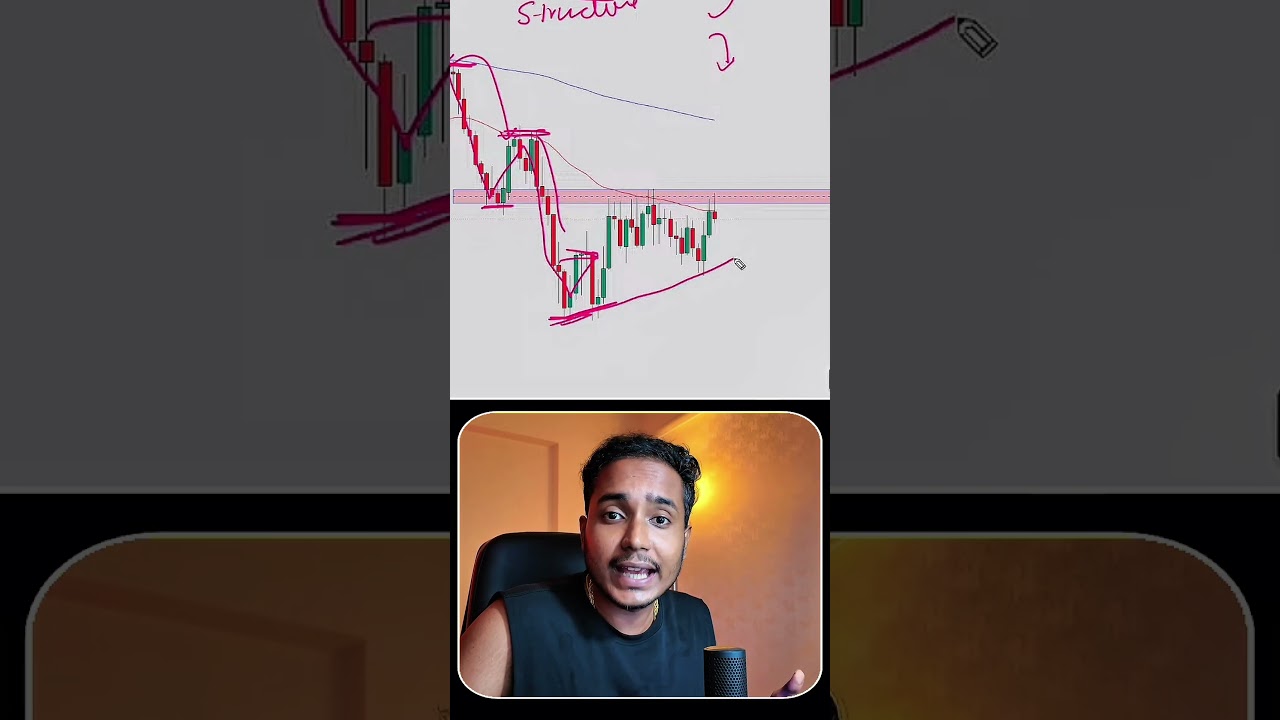
The Chartistt walks through how Fibonacci retracement levels are used together with EMAs to time entries into an established trend rather than at its extremes — the discretionary version of the entry logic in this post, which we have made systematic by adding an ADX strength threshold and a fixed candlestick confirmation so the same setup can be defined and backtested without judgement calls.