News Catalyst
Crypto momentum is running hot into today's session. Bitcoin miner MARA jumped roughly 15% after unveiling a 2 GW Texas infrastructure deal, reigniting risk appetite across the digital-asset complex and dragging ETH along with the broader crypto beta. At the same time, a third day of strikes in Iran and Fed commentary on energy prices are keeping macro volatility elevated, the kind of two-sided, headline-driven tape that pushes ETHUSD through clean directional legs on the 5-minute chart. The only scheduled release of note is Canada's Unemployment Rate (forecast 6.6%, prior 6.6%, low impact), which is unlikely to move ETH directly but adds a brief pocket of USD-liquidity noise around the print — a reminder to stand aside for a few minutes either side of it. Taken together, these catalysts create exactly the elevated intraday range this momentum system is designed to capture.
Trade Summary
This is a momentum system that trades ETHUSD in the direction of the higher-timeframe order flow by stacking two independent alignment filters: a short-period EMA to define the immediate trend, and the VWAP (volume-weighted average price) to confirm which side of institutional value price is trading on. The strategy is directionally agnostic but strictly one-sided per trade — it goes long only when price is above both the EMA and VWAP, and short only when price is below both. Entries are then timed with a candlestick confirmation (a bullish Pin Bar for longs, an Evening Star for shorts), and risk is governed by an ATR-based stop.
It performs best in high-volatility, trending sessions — precisely the conditions today's crypto-miner and geopolitical headlines are producing — and it struggles in flat, low-range chop where price coils around VWAP. The 5-minute timeframe is fast enough to catch intraday momentum bursts on ETHUSD while the dual EMA/VWAP filter screens out the noise that a single moving average would trade blindly.
The Anatomy of the Trade
The Logic: What Inefficiency Are We Exploiting?
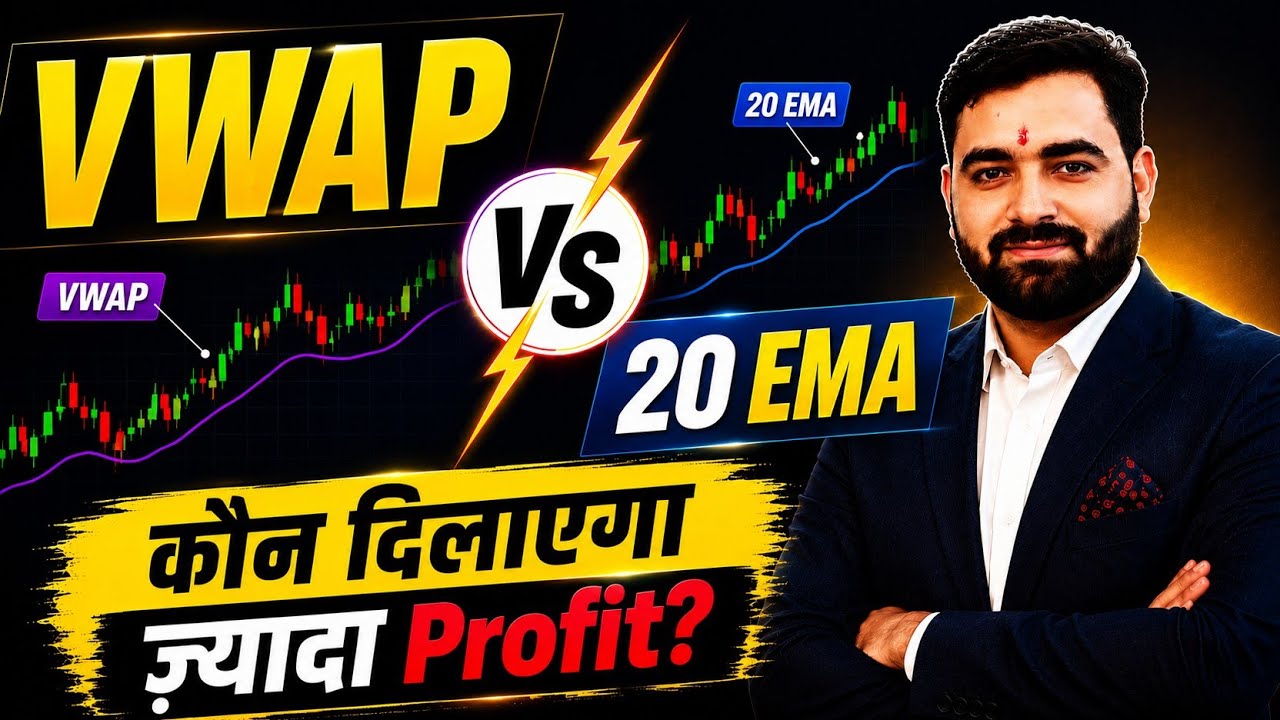
The core question this strategy answers is the one posed in the source video — is VWAP or a moving average the better trend reference? The answer here is that they are complementary rather than competing. A short EMA reacts quickly to the most recent swing and tells you the immediate direction, while VWAP is anchored to the session's cumulative volume and tells you where the day's real traded value sits. When price is above both, buyers are in control on two different clocks at once. This is the confluence that turns a lagging moving-average cross into a higher-probability momentum signal.
The candlestick confirmation adds the final layer. An EMA cross above VWAP tells you the bias has flipped, but a bullish Pin Bar (or an Evening Star at the top) tells you that the order-flow shift has actually been rejected or exhausted at that specific bar — a visible imprint of buyers overwhelming sellers within the candle. Trading the confluence of trend, value, and rejection is what separates chasing a moving-average whipsaw from entering with the momentum already confirmed.
Setup Requirements
- Primary indicator: EMA — 20-period exponential moving average on close, used as the fast trend reference
- Confirmation filter: VWAP (session-anchored) — price must sit on the same side of VWAP as the EMA signal
- Entry trigger: Bullish Pin Bar (long entries) / Evening Star (short entries)
- Risk management: ATR (14-period) for dynamic stop-loss placement
- Primary Symbol: ETHUSD — deep, liquid, and highly reactive to crypto-beta and macro headlines, giving it the clean momentum legs this system needs
- Timeframe: 5-minute charts. Fast enough to capture intraday momentum bursts while the dual EMA/VWAP filter suppresses the tick-level noise a single indicator would trade
- Adaptability: The logic transfers to other high-liquidity crypto pairs (BTCUSD, SOLUSD) and to index futures, but re-optimise the EMA length and ATR multiplier for each instrument's volatility profile
Entry Rules
Every entry requires all three conditions to align — trend, value, and candlestick confirmation. If any one is missing, there is no trade.
- Long entry: Price crosses above the 20-EMA and price is trading above VWAP and a bullish Pin Bar closes at the signal bar
- Short entry: Price crosses below the 20-EMA and price is trading below VWAP and an Evening Star formation completes at the signal bar
Enter at the close of the confirmation candle. Do not anticipate the cross — wait for the bar to close with EMA, VWAP, and the pattern all in agreement before committing capital.
Exit Rules
- Stop loss: 1.5× ATR from entry. For a long, the stop sits 1.5 ATR below entry; for a short, 1.5 ATR above. The ATR stop widens in volatile sessions and tightens in quiet ones
- Take profit: Minimum 2:1 reward-to-risk. If the ATR stop is 20 points away, the first target sits at least 40 points from entry
- Signal exit: Price crosses back across the EMA, or an opposing EMA/VWAP signal forms — close the position even if the target has not been reached
Whichever exit triggers first closes the trade. The ATR stop is non-negotiable — never widen it to give a losing trade more room, because on ETHUSD a single news spike can turn a small loss into a large one.
Risk Management
- Risk per trade: 1–2% of account equity, regardless of how strong the confluence looks
- Risk-to-reward ratio: Minimum 2:1, so the system stays profitable even with a sub-50% win rate
- Position sizing: Size from the stop distance. Risking 1% of a $10,000 account ($100) with a $25 (per-unit) ATR stop implies a position of roughly 4 ETH units — scale down as the ATR stop widens
- Maximum concurrent positions: One ETHUSD position at a time, and avoid stacking correlated crypto exposure (e.g. a simultaneous BTCUSD momentum trade)
// Copy this into a Strategy Note in the Arconomy Strategy Builder

LONG ENTRY:
  Price crosses above EMA(20)
  AND Price > VWAP
  AND Bullish Pin Bar confirms

SHORT ENTRY:
  Price crosses below EMA(20)
  AND Price < VWAP
  AND Evening Star confirms

STOP LOSS:   1.5 × ATR(14) from entry

TAKE PROFIT: 2:1 minimum reward-to-risk
             // Or price crosses back across EMA

RISK:        1–2% of account per trade

TIMEFRAME:   5-minute
SYMBOL:      ETHUSD
Common Pitfalls
Knowing how this system fails is as valuable as knowing when it works. These are the most common ways traders turn a sound EMA/VWAP momentum edge into a losing month.
Low Volatility / Ranging Conditions
When ETHUSD coils and the 5-minute range collapses, price whipsaws back and forth across both the EMA and VWAP, firing signals that reverse within a bar or two. In this regime the two filters that normally add confluence instead sit almost on top of each other, giving no real directional information. If price is oscillating tightly around a flat VWAP, stand aside until a genuine trend re-establishes.
High-Impact Crypto & Macro News
ETHUSD reacts violently to ETF flow headlines, exchange or regulatory news, and macro shocks like the Iran escalation and Fed commentary driving today's tape. These events can gap price straight through the EMA and VWAP with no respect for the candlestick trigger. Avoid opening new positions in the minutes around scheduled releases — including today's Canadian jobs print — and let the ATR stop protect any trade you are already in.
Overtrading the Cross
The 5-minute chart offers a constant stream of EMA crosses. The temptation is to skip the VWAP filter or the candlestick confirmation because "the cross looks strong enough." Every trade needs all three conditions — EMA, VWAP, and the pattern — or it is noise, not a setup. Taking half-confirmed trades is the fastest way to bleed the edge away in spreads and slippage.
Curve-Fitting the Parameters
If you keep nudging the EMA length and ATR multiplier until a historical run looks flawless, you have fitted the strategy to noise, not discovered a better system. Stick to standard, defensible values (a 20-period EMA and a 14-period ATR) and validate the logic across multiple market regimes rather than chasing one perfect backtest curve.
Revenge Trading Through Drawdowns
Even a solid momentum system endures losing streaks — a run of five to eight losses is statistically normal at a ~50% hit rate. Risking 1% per trade, that is an 8% drawdown: uncomfortable but survivable. The real damage comes from doubling size to "win it back" after a red day. Trust the process over a meaningful sample of at least 50–100 trades before judging the strategy.
Build Strategy using Arconomy
Open the Strategy Designer and create a new strategy called "ETHUSD EMA & VWAP Momentum". The build stacks the EMA trend, the VWAP value filter, the candlestick trigger, and ATR-based risk into a single momentum system.
| Step | Rule(s) Required | Description | Key Configuration |
|---|---|---|---|
| Data | Price Data | Configure the ETHUSD symbol and chart timeframe |
|
| Entry | Moving Average | Add the 20-period EMA and trigger on price crossing the average |
|
| Filter | Volume Data | Use VWAP so longs only fire above value and shorts only below |
|
| Entry | Candle Pattern | Require a Pin Bar (long) or Evening Star (short) confirmation |
|
| Risk | Place Trade | Attach ATR-based Stop Loss and a 2:1 Take Profit |
|
| Exit | Moving Average | Close on an opposing EMA cross before target |
|
| Backtest | Run a backtest across mixed regimes |
|
Backtest Considerations
When backtesting this system on ETHUSD, use a minimum test window of six months and make sure it spans multiple regimes — strong trends, choppy consolidations, and volatile news-driven sessions like today's. Crypto trends and ranges rotate quickly, so a test that only covers a sustained bull leg will badly overstate how the EMA/VWAP confluence performs when price is grinding sideways.
Watch three metrics above all: profit factor (target above 1.3), maximum drawdown (know the worst-case string of losses before risking capital), and the distribution of exits between target hits, EMA-cross exits, and stop-outs. If most trades are stopped out rather than reaching the 2:1 target, your EMA length or ATR multiplier is mistuned for ETH's volatility. Review these on the Arconomy backtesting report.
Use realistic execution assumptions. ETHUSD spreads widen sharply during volatile bursts and thin liquidity windows, so add conservative slippage on entries and stops rather than assuming fills at the signal price. Avoid drawing conclusions from ultra-low-liquidity periods (major holidays, weekend gaps), as those fills are not representative of live conditions.
Key Takeaways
- The strategy captures intraday momentum on ETHUSD by trading only when a fast EMA and session VWAP agree on direction, then timing entries with candlestick confirmation.
- Confluence is the edge — EMA (immediate trend), VWAP (traded value), and a Pin Bar or Evening Star must all align before a trade is taken.
- ATR-based stops and a minimum 2:1 reward-to-risk keep the system profitable even with a sub-50% win rate, so consistency matters more than any single trade.
- Stand aside in flat, ranging conditions and around high-impact crypto and macro news, where price whipsaws through both the EMA and VWAP.
- Backtest across at least six months and multiple regimes with realistic ETHUSD spreads and slippage before committing real capital.
Credits
The strategy idea originated from the following YouTube channel. Concepts have been adapted and structured for systematic implementation by Arconomy.
In the source video, Trading Tech (Jitendra Baghel) directly compares VWAP against moving averages as trend references — the exact question this post resolves by combining a fast EMA with session VWAP into a single dual-filter momentum entry on ETHUSD.