News Catalyst
Today's session sets up a directional environment well-suited for a breakout system on GBPAUD. The RBA Interest Rate Decision (forecast 4.35% vs previous 4.10%) is the dominant scheduled catalyst for the AUD leg, with the potential to reset short-term ranges and drive a clean directional impulse. Layered on top of that, the US ISM Services PMI (forecast 53.7) and JOLTs Job Openings prints add a secondary volatility channel via cross-currency flows, while broader risk-off undertones from renewed Iran rhetoric and UAE air-defence headlines tilt safe-haven demand toward GBP, often pressuring the cross out of consolidation. This is exactly the kind of macro backdrop that produces clean N-period highs on the 15-minute chart — the structural ingredient this strategy is built to capture.
Trade Summary
This system trades GBPAUD on the 15-minute timeframe using a 20-period Highest Price breakout filtered by trend and volatility. When price closes above the prior 20-bar high and sits on the correct side of an EMA(50) trend filter, it signals that the cross is entering an expansion phase rather than another false probe of the range edge. The directional bias is symmetric: longs on bullish breaks above the Highest Price reference, shorts on bearish breaks below the equivalent Lowest Price level.
The strategy is best suited to high-volatility, trending sessions — precisely the regime expected around the RBA decision and US data window. It performs poorly inside tight ranges where breakouts repeatedly fail, so an ATR(14) volatility floor is enforced before any signal can trigger.
The Anatomy of the Trade
The Logic: What Inefficiency Are We Exploiting?
Markets spend most of their time in equilibrium. When a 15-minute close finally pierces a clean 20-bar high or low on a major cross like GBPAUD, it tends to coincide with a forced repositioning of intraday participants — stop runs above prior swings, hedge-fund momentum desks adding to positions, and algorithmic systems shifting from mean-reversion to trend-following mode. The Highest Price level acts as a self-fulfilling decision boundary: above it, latent buy-stop liquidity is harvested; below it, sellers regain control.
Pairing the breakout with an EMA(50) trend filter is what converts a noisy signal into an edge. A 20-bar high that occurs against the prevailing trend is far more likely to be a liquidity grab than a genuine continuation, so we ignore it. The ATR floor adds a final layer of regime confirmation: we only act when realised volatility is elevated enough to support a meaningful run beyond the breakout level.
Setup Requirements
- Primary indicator: Highest Price and Lowest Price, lookback 20 bars on the 15m timeframe.
- Trend filter: EMA(50) on the 15m chart — price must close on the trend side of the EMA for the signal to qualify.
- Volatility floor: ATR(14) must be above its 50-bar average to confirm an active regime.
- Primary symbol: GBPAUD — offers tight spreads, deep institutional liquidity, and reliably forms multi-bar momentum legs after data releases.
- Timeframe: 15 minutes — long enough to filter intra-bar noise, short enough to capture intraday breakouts cleanly.
- Adaptability: Same logic ports to other liquid majors (EURUSD, GBPUSD, AUDUSD) and indices — recalibrate the lookback to the typical range structure of the new instrument.
Entry Rules
All conditions must align on the same closed 15-minute bar. No entries on partial bars.
- Long entry: Close > Highest Price (20) and Close > EMA(50) and ATR(14) > ATR(14) average over 50 bars.
- Short entry: Close < Lowest Price (20) and Close < EMA(50) and ATR(14) > ATR(14) average over 50 bars.
Enter at the close of the confirmation candle. Do not anticipate the breakout intra-bar — the close is the signal.
Exit Rules
- Stop loss: 1.5 × ATR(14) from entry, placed on the opposite side of the breakout level.
- Take profit: Minimum 2:1 reward-to-risk — target is 3.0 × ATR(14) from entry.
- Signal exit: Close any open position on a fresh opposing Highest/Lowest Price breakout, or after four hours (16 bars) if neither stop nor target has triggered.
The stop loss is non-negotiable. Manually widening it after entry is the single fastest way to convert a structured edge into a discretionary loss.
Risk Management
- Risk per trade: 1–2% of account equity. Never compound risk after a winning streak.
- Risk-to-reward ratio: Minimum 2:1. Skip any setup whose 2R target sits inside an obvious structural barrier.
- Position sizing: On a $20,000 account risking 1% ($200), with a 30-pip stop on GBPAUD, position size is approximately $200 ÷ (30 × pip value). Use the platform's risk calculator rather than rounding manually.
- Maximum concurrent positions: One GBPAUD position at a time. Limit total open correlated AUD or GBP exposure to two positions.
SYMBOL:      GBPAUD
TIMEFRAME:   15m

LONG ENTRY:
  Close > Highest Price (20)
  AND Close > EMA(50)
  AND ATR(14) > ATR(14) avg over 50 bars

SHORT ENTRY:
  Close < Lowest Price (20)
  AND Close < EMA(50)
  AND ATR(14) > ATR(14) avg over 50 bars

STOP LOSS:   1.5 × ATR(14) from entry
TAKE PROFIT: 3.0 × ATR(14) from entry
             // Minimum 2:1 reward-to-risk

SIGNAL EXIT: Opposing Highest/Lowest Price breakout
             // Or 16-bar (4-hour) time stop

RISK:       1–2% equity per trade
Common Pitfalls
Even a well-defined breakout system fails when traders ignore the regime, the news calendar, or their own discipline. Watch for these recurring traps.
Trading inside a low-volatility range
Highest Price breakouts collapse the moment ATR contracts. If ATR(14) is below its 50-bar average, the breakout edge has effectively gone to zero. Quiet Asian sessions or pre-holiday liquidity pockets are the worst offenders — honour the volatility filter rather than rationalising around it.
Overlapping high-impact AUD or GBP releases
An RBA decision, UK CPI print, or BoE meeting can blow through a 1.5 × ATR stop in a single tick. Avoid initiating new entries in the 15 minutes before, and 30 minutes after, scheduled tier-one events on either currency leg. Let the breakout level form after the release before re-arming the system.
Relaxing entry requirements after losses
Two stop-outs in a row tempt traders to take the next "almost-clean" breakout that closes just below the EMA filter. Every condition is load-bearing — skipping one collapses the win rate, not just the edge. If the bar does not satisfy all three filters, there is no trade.
Curve-fitting the lookback window
Tweaking the 20-bar lookback to 18 or 23 because the last quarter looked better in-sample is a textbook over-optimisation move. Lock the parameters before live deployment and only revisit them after at least 100 forward trades. Use parameter sensitivity testing in backtest, not in production.
Revenge trading after a stop-out
Breakout systems experience clustered losses by design — failed breakouts often come in pairs. Set a daily loss limit of 3R and stop trading the system the moment it is hit. The next valid signal will appear in the next session, and the equity curve recovers far faster from a hard stop than from a chase.
Build Strategy using Arconomy
The full GBPAUD Highest Price Breakout Strategy can be assembled in the Arconomy Strategy Designer using the rules below. Each row maps a single platform rule to its role in the system.
| Step | Rule(s) Required | Description | Key Configuration |
|---|---|---|---|
| Data | Price Data | Stream the GBPAUD 15-minute candle data into the strategy. |
|
| Entry | Highest Price / Lowest Price | Tracks the 20-bar Highest Price for longs and the 20-bar Lowest Price for shorts. Triggers when the bar's close pierces the level. |
|
| Filter | Moving Average | EMA(50) trend filter — only allow longs above the EMA and shorts below. |
|
| Filter | ATR | Volatility floor — require ATR(14) above its 50-bar average before any entry triggers. |
|
| Risk | Place Trade + Stop Loss | Place the trade with ATR-scaled stop sizing capped at 1–2% of equity. |
|
| Exit | Take Profit | Bank the trade at a fixed 2:1 reward-to-risk multiple, with a 16-bar time stop and opposing breakout exit as backups. |
|
| Backtest | Validate the system across at least 12 months of GBPAUD 15m data covering trending and ranging regimes. |
|
Backtest Considerations
Test the strategy on at least 12 months of GBPAUD 15-minute data and ensure that the sample includes both clearly trending stretches and at least one extended consolidation phase. Breakout systems typically generate 60–80% of their P&L in fewer than 25% of trading days, so a short backtest window will produce wildly unstable expectancy estimates.
Focus on profit factor (look for > 1.3 after costs), maximum drawdown (ideally below 15% of starting equity), and the distribution of trade outcomes — you want a small handful of large winners doing the heavy lifting, not a flat tail. Cross-reference against the Arconomy backtesting documentation to confirm your slippage and spread assumptions match the live execution model.
For GBPAUD specifically, model spread at 1.5–2.0 pips during the London/NY overlap and significantly wider during the Asian quiet hours; assume at least 1 pip of slippage on stop-outs around news. The strategy's edge survives realistic transaction costs only when the volatility filter is honoured — turn it off in backtest as a control to see how much of the equity curve depends on it.
Key Takeaways
- The core edge comes from a clean 20-bar Highest Price breakout that aligns with the EMA(50) trend and an active ATR regime.
- Confluence between price structure, trend, and volatility is what filters genuine expansions from liquidity grabs.
- ATR-scaled stops and a 2:1 minimum reward-to-risk keep position sizing consistent across volatility regimes.
- Avoid the system during low-ATR ranges and around tier-one AUD or GBP releases — both regimes neutralise the breakout edge.
- Lock parameters before live deployment and rely on at least 12 months of GBPAUD backtest data, including ranging conditions, before sizing up.
Credits
The strategy idea originated from the following YouTube channel. Concepts have been adapted and structured for systematic implementation by Arconomy.
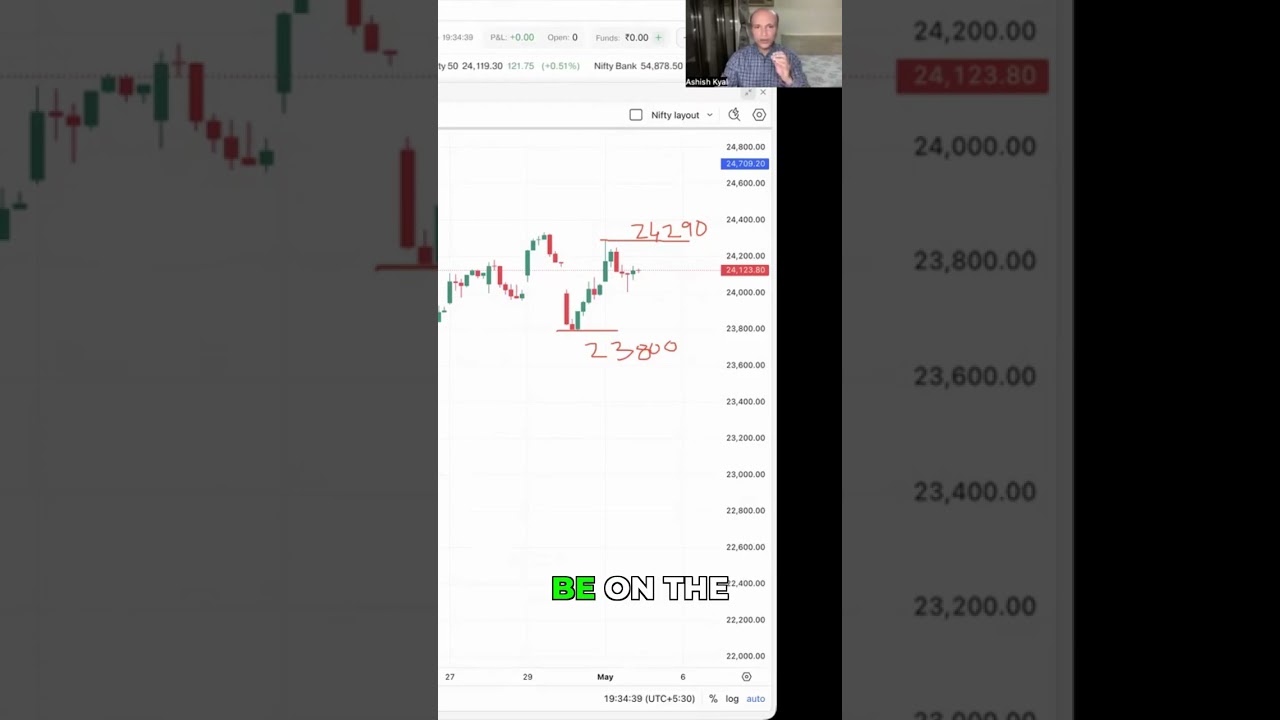
Ashish Kyal, CMT walks through a Wednesday-session breakout setup that uses prior-period highs as the primary decision level — the same N-period high concept that powers the Highest Price entry on GBPAUD in this post.