News Catalyst
Today is a stacked macro day for crypto. The Federal Reserve decision and hyperscaler earnings headline a calendar that also includes the BoE and ECB rate decisions, the US Core PCE Price Index, US Advance GDP, and a 6% surge in oil prices on renewed Iran-related supply disruption. Each of these is a documented catalyst for risk-on/risk-off rotations — BTCUSD historically reacts within minutes to PCE and Fed-day language as traders re-price real yields and dollar liquidity. The combination compresses BTCUSD into tight bands ahead of the releases and then expands intraday range sharply once headlines hit, which is precisely the volatility-expansion regime the Keltner Channel is built to capture.
Trade Summary
This strategy hunts volatility expansion breakouts on BTCUSD by using the Keltner Channel as a dynamic envelope of fair value and the 25-period EMA as the trend backbone. A clean close outside the upper or lower band — in the same direction as the EMA slope — signals that price has overwhelmed the channel’s ATR-derived volatility envelope and is committing to a new leg. The bias is directional: bullish when the candle closes above the upper band with EMA rising, bearish when it closes below the lower band with EMA falling. The setup performs best in high-volatility, news-driven sessions on instruments with deep liquidity — quiet, mean-reverting drift will produce false breakouts and chop the system.
The Anatomy of the Trade
The Logic: What Inefficiency Are We Exploiting?
The Keltner Channel wraps the EMA in an ATR-scaled envelope, so the bands themselves widen and contract with realised volatility. When BTCUSD closes outside the upper or lower band, it is by definition closing more than a multiple of recent ATR away from its short-term mean — an event that, on a 15-minute chart, almost always corresponds to liquidity sweeping a stop cluster or a news print forcing aggressive flow. This is the volatility-expansion edge: in a quiet regime, those closes are rare; in an expanding regime, they cluster and trend.
Pairing the breakout with the 25-EMA slope filters out the corrosive case — channel piercings against the prevailing trend that mean-revert within two or three bars. The candle confirmation adds conviction: a Bullish Engulfing or Pin Bar closing through the upper band shows buyers absorbed the offer at the band rather than tagging it on a single noisy print. The combination of trend, envelope, and pattern is the confluence that turns a generic breakout into a tradable setup.
Setup Requirements
- Primary indicator: Keltner Channel with EMA length 20 and ATR multiplier 2.0.
- Trend filter: 25-period EMA on the same timeframe to confirm directional alignment.
- Confirmation: Candle pattern — Bullish Engulfing or Bullish Pin Bar for longs; Bearish Engulfing or Bearish Pin Bar for shorts.
- Risk tool: ATR(14) for stop placement and position sizing.
- Primary symbol: BTCUSD — deep liquidity, 24/7 session, and high sensitivity to macro releases makes it ideal for capturing volatility expansion around scheduled events.
- Timeframe: 15-minute chart provides enough price action for clean Keltner expansions while still catching same-session moves driven by US-hours news.
- Adaptability: The setup transfers to ETHUSD, NDX, and major FX pairs that show similar volatility-clustering behaviour, with band multiplier adjusted to instrument ATR.
Entry Rules
All conditions below must align on the same closed bar before entering.
- Long entry: Bar closes above the upper Keltner band and 25-EMA is rising and the close candle is a Bullish Engulfing or Bullish Pin Bar.
- Short entry: Bar closes below the lower Keltner band and 25-EMA is falling and the close candle is a Bearish Engulfing or Bearish Pin Bar.
Enter at the close of the confirmation candle — do not chase intra-bar.
Exit Rules
- Stop loss: 1.5 × ATR(14) from entry, placed beyond the opposing Keltner band.
- Take profit: 2:1 minimum reward-to-risk — partial scale at 1.5R, trail remainder behind the 25-EMA.
- Signal exit: Close on a candle close back inside the channel against the trade direction, or on EMA slope flipping against the position.
The stop loss is non-negotiable. Volatility-expansion setups can fail violently when news reverses — the ATR stop is what keeps a single failed breakout from compounding into a portfolio drawdown.
Risk Management
- Risk per trade: 1–2% of account equity, never more.
- Risk-to-reward ratio: Minimum 2:1 on the unmanaged target.
- Position sizing: On a $20,000 account risking 1% ($200), if ATR(14) on BTCUSD is $450 and the stop is 1.5 × ATR = $675, position size = $200 / $675 = 0.296 BTC equivalent.
- Maximum concurrent positions: One BTCUSD position at a time; cap correlated crypto exposure at two simultaneous trades.
SYMBOL:      BTCUSD
TIMEFRAME:   15m

LONG ENTRY:
  Close > Upper Keltner Band
  AND 25-EMA rising
  AND Bullish Engulfing OR Bullish Pin Bar

SHORT ENTRY:
  Close < Lower Keltner Band
  AND 25-EMA falling
  AND Bearish Engulfing OR Bearish Pin Bar

STOP LOSS:   1.5 × ATR(14) from entry

TAKE PROFIT: 2:1 minimum reward-to-risk
             // Trail remainder behind 25-EMA after 1.5R

SIGNAL EXIT: Close re-enters channel against position
             OR EMA slope flips

RISK:       1–2% of equity per trade
KELTNER:    EMA 20, ATR multiplier 2.0
Common Pitfalls
Volatility-breakout systems look simple on a clean chart and ruinous in live markets. The errors below are the most common reasons traders lose money on this exact pattern.
Trading Channel Pierces in a Quiet Regime
When realised volatility is low, the Keltner bands compress and any noise print can briefly close outside them. Without an ATR-expansion or volume filter, every random wick becomes a "signal" and the system bleeds out in chop. Require ATR(14) to be at or above its 20-period average, or skip the trade.
Ignoring High-Impact News Windows
BTCUSD reacts violently to FOMC language, Core PCE prints, and ECB pressers. Entering a breakout in the 15 minutes before a scheduled release is gambling on the headline, not on the setup. Either pause new entries from 15 minutes before to 30 minutes after the print, or only enter once the post-print bar closes outside the band with EMA confirmation.
Relaxing the Confirmation Candle
The candle pattern requirement is what separates a trend-aligned breakout from a stop-hunt wick. Skipping it — "the close looks strong enough" — is the single fastest way to degrade win rate. If the bar that closed outside the band isn’t a clean engulfing or pin bar, there is no trade.
Curve-Fitting Band Settings to Recent History
It is tempting to nudge the EMA length to 18 or the multiplier to 1.7 because last week’s data looks better. Every parameter you tune to in-sample data is a parameter you’ve overfit. Lock the settings (EMA 20, ATR × 2.0, 25-EMA filter) and let the strategy work across a full out-of-sample period before changing anything.
Revenge-Trading After a Failed Breakout
A failed Keltner breakout often reverses sharply — the temptation is to flip and chase the move in the opposite direction without all conditions aligning. Without a fresh confirmation candle and EMA-slope agreement, the reverse is just another stop-hunt setup looking for new victims. Step away, log the trade, and wait for the next clean signal.
Build Strategy using Arconomy
The Strategy Designer makes wiring the BTCUSD Keltner Channel Volatility Strategy a six-step process. Each row below maps a strategy concept to a specific Arconomy rule with the exact configuration to match the logic above.
| Step | Rule(s) Required | Description | Key Configuration |
|---|---|---|---|
| Data | Price Data | Stream BTCUSD 15-minute bars as the base feed for all downstream indicator calculations. |
|
| Entry | Keltner Channel | Detect the volatility-expansion breakout — bar close outside the upper or lower band signals trend continuation. |
|
| Filter | Moving Average + Candle Pattern | Confirm direction with 25-EMA slope and require an Engulfing or Pin Bar on the breakout candle. |
|
| Risk | ATR + Place Trade | Size each position so the 1.5 × ATR stop equals 1–2% of account equity. |
|
| Exit | Stop Loss + Take Profit | Lock the 2:1 reward-to-risk target, with a signal exit if price re-enters the channel or EMA slope flips. |
|
| Backtest | Validate the configuration across multiple BTCUSD volatility regimes before risking capital. |
|
Backtest Considerations
Test this strategy across at least two years of BTCUSD 15-minute history to capture both the bullish trending regimes of 2024–2025 and the choppier consolidations between cycle highs. Volatility-expansion systems live and die by regime — if the sample only covers a runaway uptrend, win rate and expectancy will be flattered. Include a halving-window block, a clear bear-market drawdown, and at least one prolonged sideways period.
Watch the Arconomy backtest output for profit factor above 1.3, max drawdown under 15% of starting equity, and a trade distribution where the worst 5% of losers do not exceed 1.5 × the planned risk. A breakout system that produces fewer than 30–40 trades per year on a single instrument is statistically thin — widen the symbol set or lengthen the test window before drawing conclusions.
Model BTCUSD spread and slippage realistically: assume 5–10 bps of slippage on volatility-day entries and stops, plus exchange fees of 0.05–0.10% per side. Crypto liquidity holes during macro releases (FOMC, PCE, ECB) regularly produce slippage of 30–50 bps on aggressive market orders — haircut backtest results accordingly when reporting expected live performance.
Key Takeaways
- The Keltner Channel converts realised volatility into a dynamic envelope — closes outside the band on a 15-minute BTCUSD chart are statistically rare and trend-relevant.
- Confluence between band breakout, 25-EMA slope, and candle pattern is what turns a generic pierce into a tradable signal — never skip a leg.
- ATR-based stops (1.5 ×) and 2:1 minimum reward-to-risk keep a single failed breakout from compounding into a portfolio drawdown.
- Avoid taking new entries inside the 15-minute window before scheduled FOMC, PCE, or ECB releases — the headline, not the setup, decides the outcome.
- A two-year, multi-regime backtest with realistic crypto slippage and fees is non-negotiable before risking live capital on this configuration.
Credits
The strategy idea originated from the following YouTube channel. Concepts have been adapted and structured for systematic implementation by Arconomy.
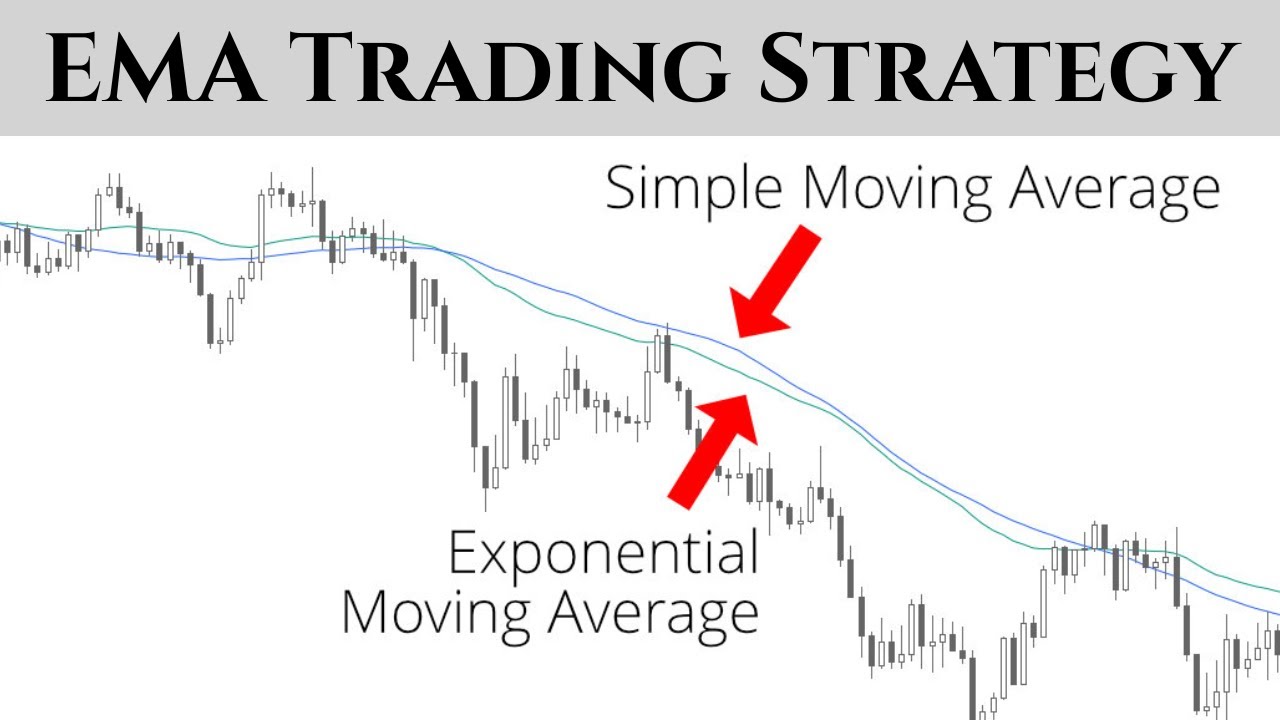
The source video by SM Trading Academy walks through using a 25-EMA with price-action confirmations to time directional entries; this post adapts that core idea by pairing the 25-EMA trend filter with a Keltner Channel breakout and an ATR-based risk model so the system targets BTCUSD volatility expansion rather than discretionary swing levels.